
Having recently had to replace my wheel bearings, I had the lovely experience of attempting to reassemble my parking / emergency brake shoes, springs, and cable on my 987.2 Cayman S. Going in blind to this, it seems damn near impossible. I’m making this post referencing a post made by wwexell on Planet-9, just in case that post disappears so I can preserve it (and I’ll add some bits as well).
I won’t write about removal of the shoes/springs in too much detail as it’s relatively straightforward. I definitely do recommend to take lots of pictures of the full assembly, so you can refer to them during reinstallation. Remove the quarter turn springs on either side going through the shoes, pry out the adjuster, remove the top spring, and the shoes should pop off.
If you have to remove/reinstall the parking brake cable, here are some pointers (and apologies for the lack of photos, I didn’t plan on writing a guide!)
- The lever / bracket the cable attaches to is pretty difficult to access. It’s an extremely tight space and the cable sits deep inside the hub.
- The cable attaches to the lever via a pin with a c-clip holding it on on the bottom. You can knock this off and then use a small pick to push the pin out and remove the lever.
- When it comes to reinstallation, this is much more frustrating in my experience. If you’ve got tiny pliers and a lot of patience it is possible to reinstall it as-is. If you’re struggling, though, consider removing your center console and detaching the cables from the handle in the car. You can then push the cables out to make them extra long, and putting the pin in is a piece of cake!
Now into brake shoe and spring reassembly (taken from wwexell’s post with a few more tips added)
- Join the shoes with the bottom spring (shoes have notches at the bottom).
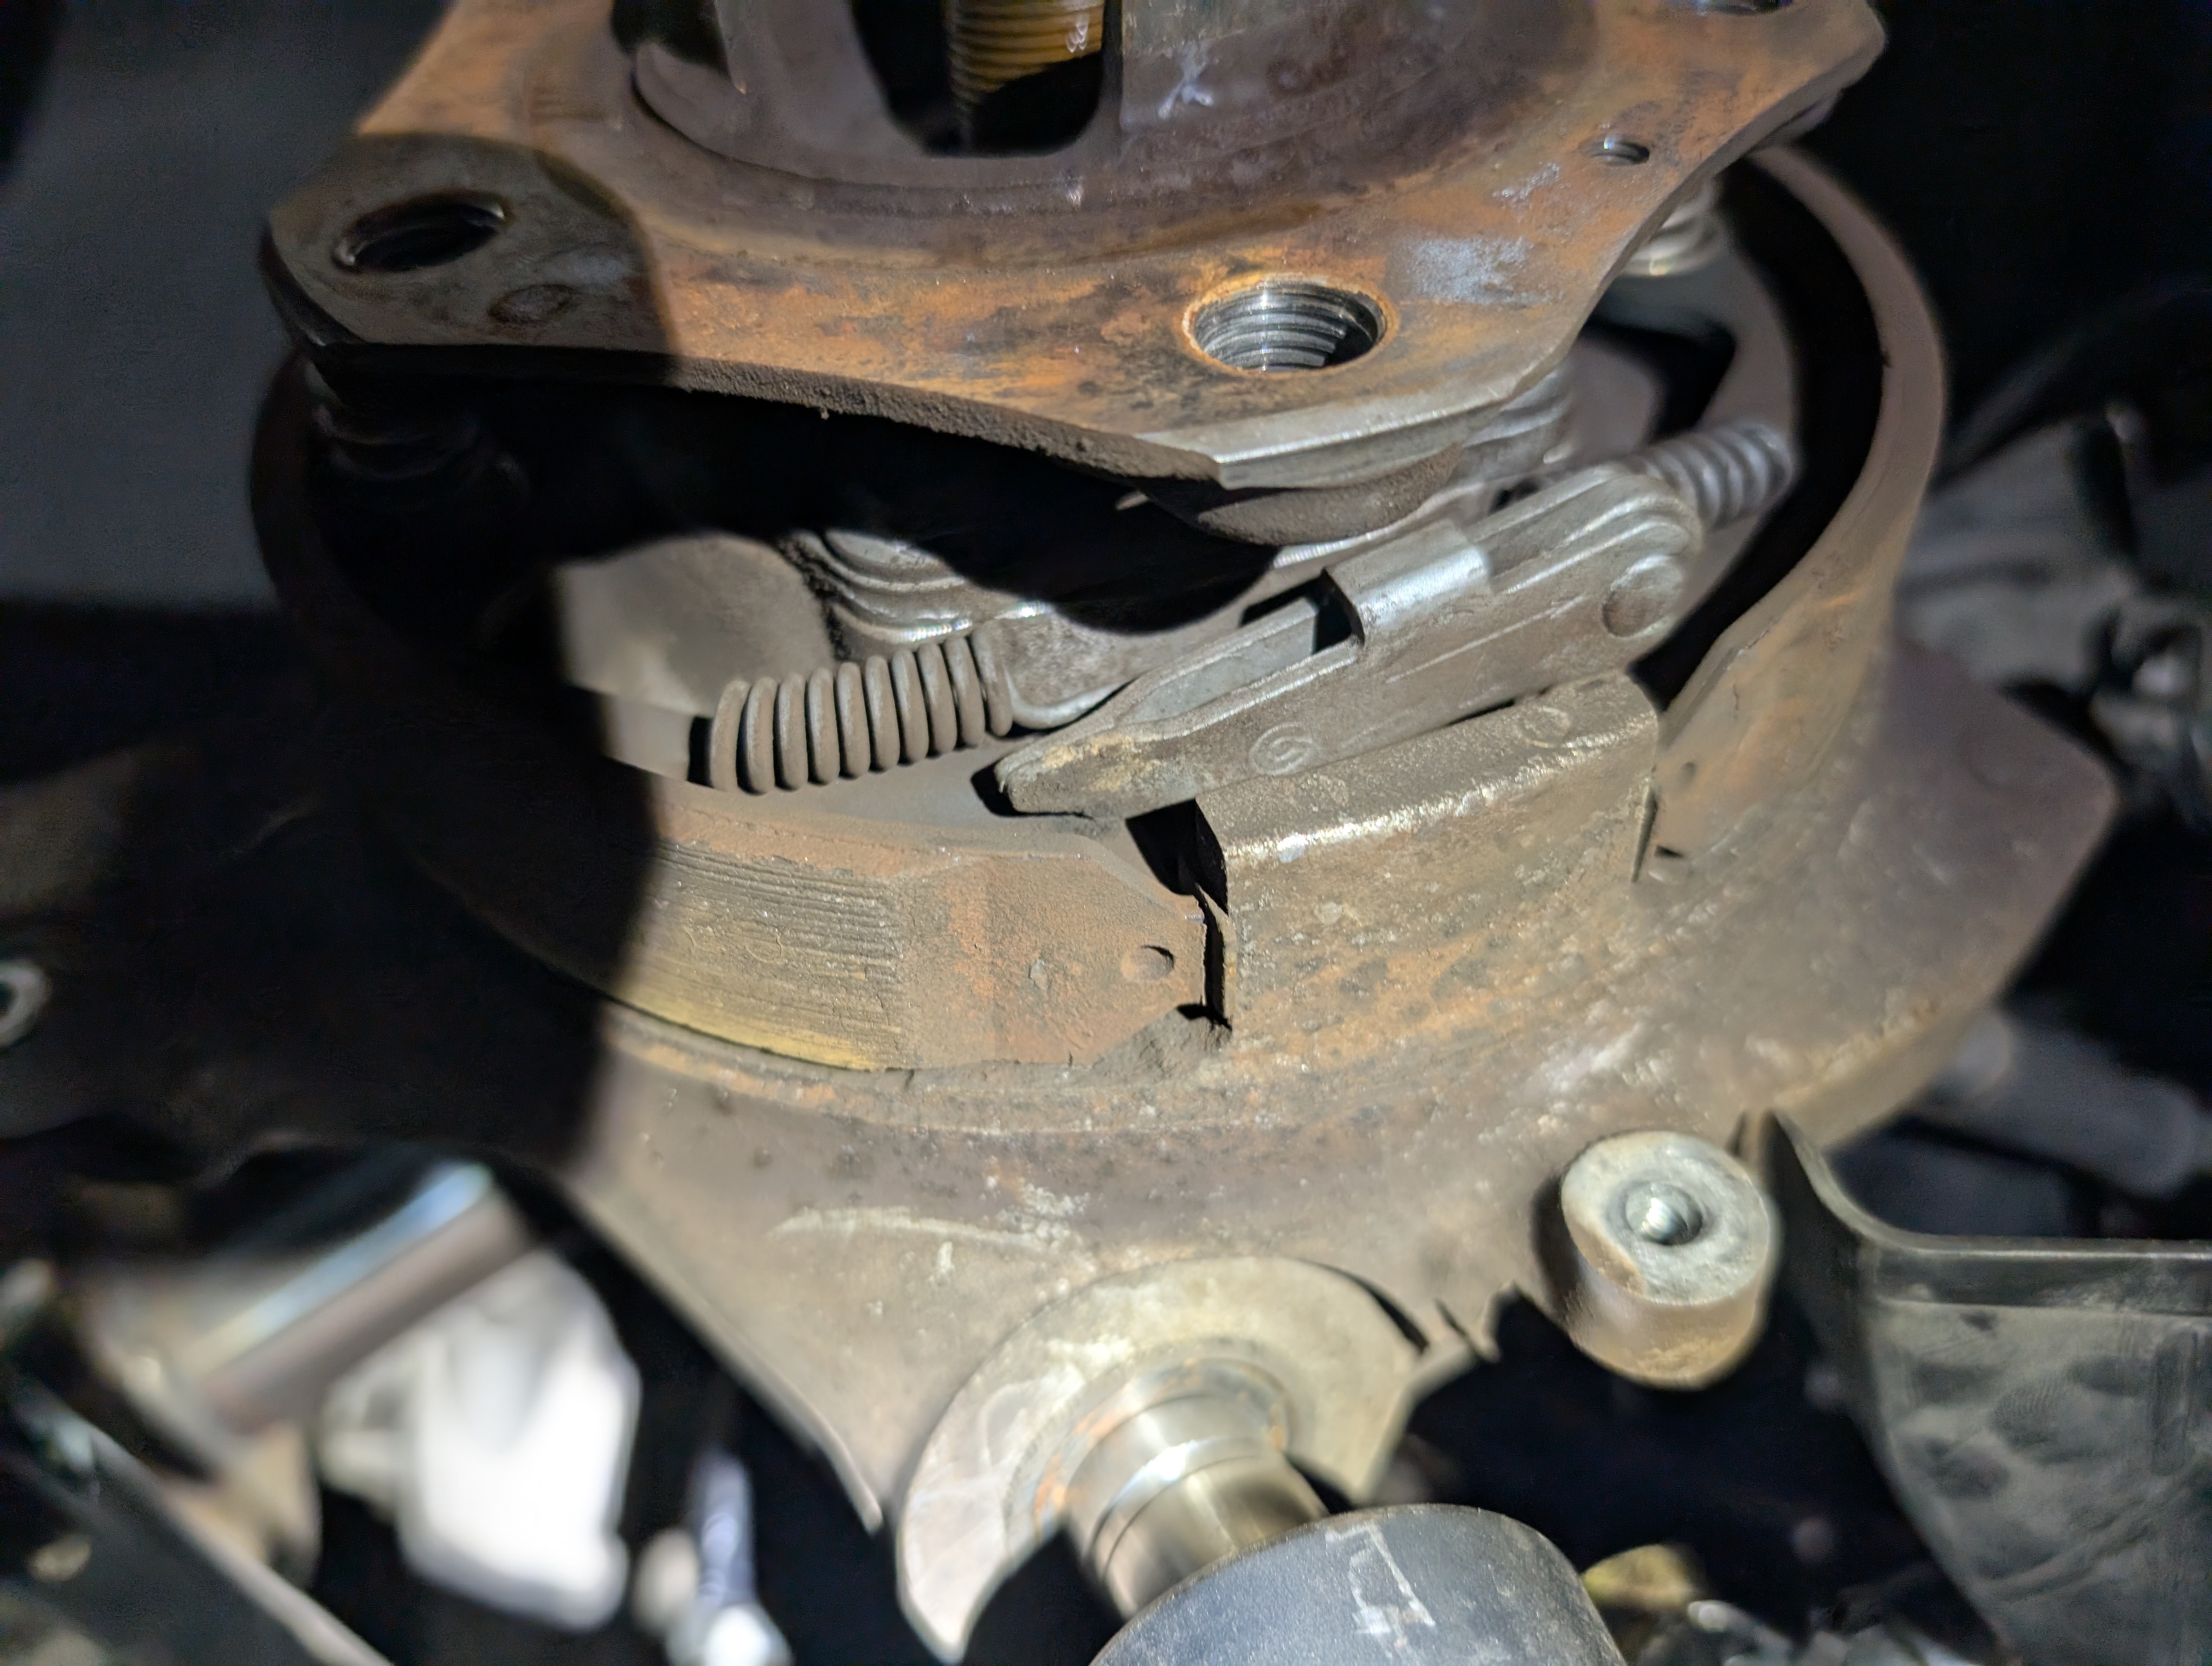
- Place the shoes behind the wheel hub but not up against the wheel carrier. Get the bottom spring above the parking cable lever. This is important. If you continue with the spring below the lever, you will hate life.
- Put the top spring on the shoes without the adjuster. Should be easy because the adjuster isn’t there and the bottom spring isn’t stretched yet either.
- Push the shoes back against the wheel carrier somewhat. The bottom of the shoes is still against the outside of the cable latch, so it won’t go all the way. At this point, I slipped the bottom of the rear pad only onto the parking brake lever notch. Leave the other one loose you’ll need the play.
- Next, install the adjuster on the top. Angle the adjuster in on one shoe, then use a screwdriver or small pry bar to spread the shoes and slip the adjuster in on the other side. Because the bottom is still loose you’ll have to hold the shoes in place.
- Now, use your pry tool to pull the bottoms of the shoes out and get them to snap into place on the cable lever. If you didn’t slip the rear pad on earlier, the first one won’t be too bad, but the second will be tricky. It’s still far less tricky than trying to pull a spring with pliers and get it to snap into place, trust me!
- Install the 1/4 turn springs.
Thanks again to wwexell for the assist on this! Posting some of his photos below.

